How to Choose the Best Modern Entry Doors
Choosing Modern Entry Doors means balancing appearance, security, weather resistance, and everyday comfort. A dramatic glass panel may brighten a dim hallway, while a solid insulated door can offer greater privacy. Neither choice is automatically right. The best fit depends on your home’s exposure, entryway, and routine.
Juhani Pallasmaa, a Finnish architect and design thinker, is often credited with saying, “The door handle is the handshake of the building.” That idea makes the small details worth considering. A handle should feel comfortable, hardware should operate smoothly, and the threshold should meet the floor cleanly. Looks matter. So does the first cold draft you notice in winter. Product specifications can help, but measurements and installation conditions matter too; a quality door may still disappoint when poorly fitted.
This guide explores how to compare materials, styles, glazing, insulation, locks, and maintenance needs. It also considers how a door’s proportions work with the façade, from a narrow townhouse entrance to a broad modern porch. Check the manufacturer’s performance information and ask a qualified installer about local climate conditions. There are trade-offs: a large glazed area can bring in daylight, yet may reduce privacy or increase upkeep. I would not choose from a showroom photo alone. Compare samples, inspect the finish in natural light, and think about how the entrance feels after months of use, not just on installation day.
Define the Opening: 36 × 80 Inches Is a Common U.S. Door Size
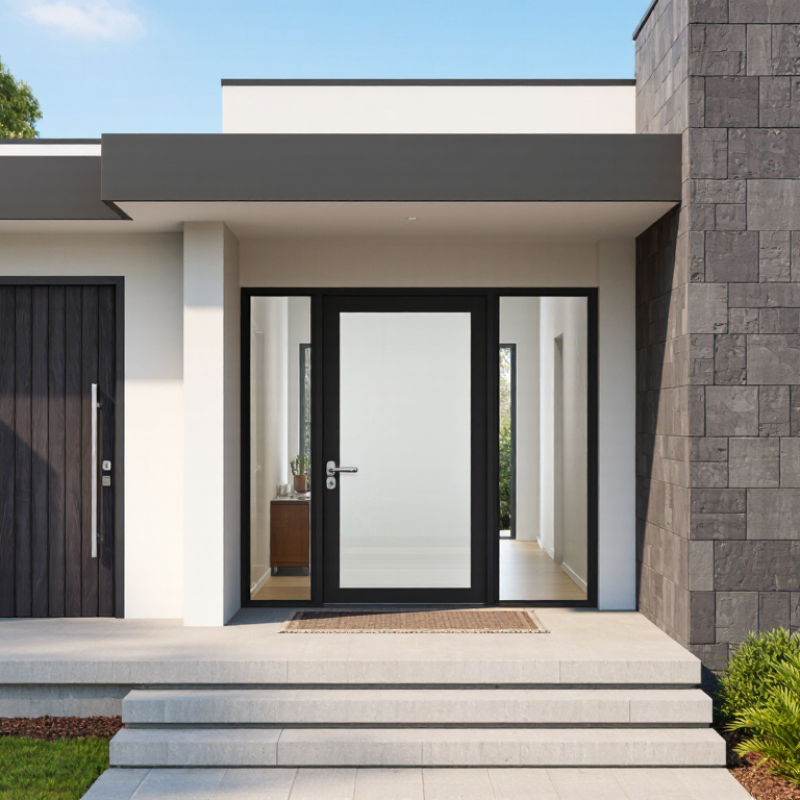
A 36 × 80-inch door is a common U.S. size, but it does not automatically describe the opening in your wall. The listed measurement usually refers to the door slab, while the rough opening must allow space for the frame, shims, and adjustment. Check the installation specifications before ordering. Small differences matter.
Measure the width near the top, middle, and bottom of the opening. Measure the height on both sides, from the subfloor or finished floor to the header. Measure twice. If the readings differ, use the smallest measurement and ask a qualified installer whether the frame can accommodate it. A sloped floor or an older, out-of-square frame can complicate a seemingly standard replacement.
Also check door thickness, hinge side, and swing direction. A modern door may look right online, yet its handle could hit a nearby wall or its threshold could sit awkwardly above the floor. That detail matters. I might assume a 36 × 80-inch label settles the choice, but it only gives a starting point; existing trim and framing can make the final fit less predictable.
Compare NFRC U-Factor and SHGC Ratings for Thermal Performance
A modern entry door can feel substantial and still lose heat through its glass. The NFRC label gives you a clearer way to compare thermal performance. Check the ratings for the complete door configuration, including its glazing, rather than relying on appearance or frame material alone.
U-factor measures how quickly heat passes through a product. A lower U-factor generally means better insulation, which can help keep a chilly entryway more comfortable. SHGC measures how much solar heat the door’s glazing admits. A lower SHGC can limit unwanted heat from strong afternoon sun, while a higher value may be useful where winter sunlight is welcome. Climate and door orientation matter.
Look at both numbers together. A door with a low U-factor but high SHGC may perform differently on a shaded north-facing entry than on a west-facing one. Small details count. Glass area changes the result, too. Ratings are useful, but they do not describe every real-world condition; I would not treat one number as a complete verdict. Proper installation, sealed edges, and intact weatherstripping also affect comfort. A carefully chosen door can still disappoint if cold air slips around the frame.
Check Air Leakage Using ASTM E283’s 75-Pa Test Pressure
When comparing modern entry doors, ask for air-leakage data measured under ASTM E283 at a 75-Pa pressure difference. The test places a door assembly in a controlled chamber, then measures air passing through it. Lower leakage is generally preferable, but compare figures only when the test pressure, specimen size, and units match. Small print matters.
Look for the tested configuration, not just the door slab. A report should identify the frame, seals, threshold, and any glazing included. Air can slip through a worn weatherstrip or collect at the lower corners, even when the center panel feels solid. Check whether the reported rate is given per door area or as a total flow. Those numbers are not interchangeable. Ask for the actual test report if a sales sheet offers only a vague claim.
A 75-Pa result describes performance in a laboratory setup; it cannot promise the same result after installation. An uneven sill, loose fasteners, or a poorly adjusted latch may create leakage the test did not capture. Installation quality counts. I would also consider how seals can age, though a single test cannot show that. A quieter entry can feel more comfortable on a windy evening, but one number should not decide the purchase. Inspect the threshold detail and ask how the door is adjusted after fitting.
How to Choose the Best Modern Entry Doors: ASTM E283 at 75 Pa
How to use this: The bars show equivalent expressions of the ASTM E283 test pressure, not door air-leakage results. When comparing entry doors, review air-leakage measurements taken at the same pressure and in the same units; lower leakage indicates a tighter door. ASTM E283 is a test method and does not set a universal pass/fail limit.
Match Wind Loads to NAFS Performance Classes: R, LC, CW, or AW
A modern entry door should be selected against the project’s calculated wind pressure, not appearance alone. NAFS-2022 sets minimum design-pressure ratings of 15 psf for R, 25 psf for LC, 30 psf for CW, and 40 psf for AW. These are performance-class thresholds, not a substitute for a site-specific load calculation. ASCE/SEI 7-22 determines wind loads using factors such as location, building height, exposure, and risk category. A coastal corner entrance and a sheltered suburban doorway may need very different ratings.
Start with the pressure specified by the project’s structural design, then choose a tested door assembly whose NAFS rating meets or exceeds it. R generally suits low-rise residential use; LC targets heavier residential and light commercial applications. CW addresses larger or more demanding commercial openings, while AW is intended for high-performance architectural applications.
Higher is not automatically better. Check the exact tested size, configuration, glazing, and installation details; changing a sidelite or frame can affect performance.
The Fenestration and Glazing Industry Alliance’s NAFS guidance and the ASCE 7 wind-load provisions are useful references. Ask for the product’s performance documentation. Read the label carefully.
One detail is easy to miss: a class rating alone does not confirm that the installed door matches the design pressure or local code requirements.
Compare ANSI/BHMA Bored-Lock Grades 1–3 for Security Needs
ANSI/BHMA grades offer a useful way to compare bored locks, the common cylindrical locks fitted through a door face. Grade 1 represents the highest performance level in this system, Grade 2 the middle, and Grade 3 the basic level. The tests assess factors such as operation, durability, and strength. Check the product documentation for the applicable standard and grade; appearance alone reveals little.
For a busy entrance that sees frequent use, Grade 1 is often worth considering. Grade 2 may suit many homes or lighter-use doors, while Grade 3 can fit lower-demand residential settings. These are starting points, not guarantees. A lock’s grade does not rate the entire door assembly, and a strong lock can still perform poorly in a weak door or frame.
Look closely at the strike plate, fasteners, and fit. A loose strike that shifts when the door closes deserves attention. Match the lock to the door’s thickness and handing, and confirm that the latch engages cleanly. I have seen people focus on the highest grade and overlook a poorly aligned door. That is an easy mistake. The right choice depends on traffic, installation quality, and how the entry is used—not on grade alone.